
Choosing an Axis camera lens around the evidence you need
Compare Axis lens options using target distance, scene width, focus, light, and service access before settling on a camera model.
Quick answer: Choose an Axis lens and camera combination by working backward from the target’s location and the detail the recording must provide. Compare the required scene width, available mounting position, focus, light, and adjustment needs before treating a focal-length range as the answer.
A lens specification can look precise while the project remains vague. “Varifocal” describes an adjustment option, but it does not say where the camera will be mounted or which part of the scene deserves the most detail. Those decisions determine whether the available adjustment is useful.
The buying task is to match a particular view with a supported camera and lens combination. Axis offers several ways to plan that match, but the business still has to describe the scene. A clear brief prevents a feature-rich camera from arriving at a location where its intended job was never agreed.
Measure the scene the lens actually needs to cover
Identify the target area and the permitted mounting positions. Record the distance between them, the width that must remain visible, and the near and far points that matter. A requirement to cover the full entrance lobby is different from a requirement to examine people at one doorway within it.
Mark obstructions on the plan. A structural column, suspended sign, or open door leaf can remove a useful sightline without changing the room dimensions. The lens cannot see through those obstacles, so the layout should expose them before a focal-length choice becomes fixed.
Ask the customer to prioritize competing parts of the image. If the loading bay and pedestrian entrance cannot both receive the required detail from one position, say so in the design review. Lens selection should clarify that tradeoff, not hide it behind a broad coverage drawing that treats every part of the scene as equally useful.
Decide what adjustment is worth paying for
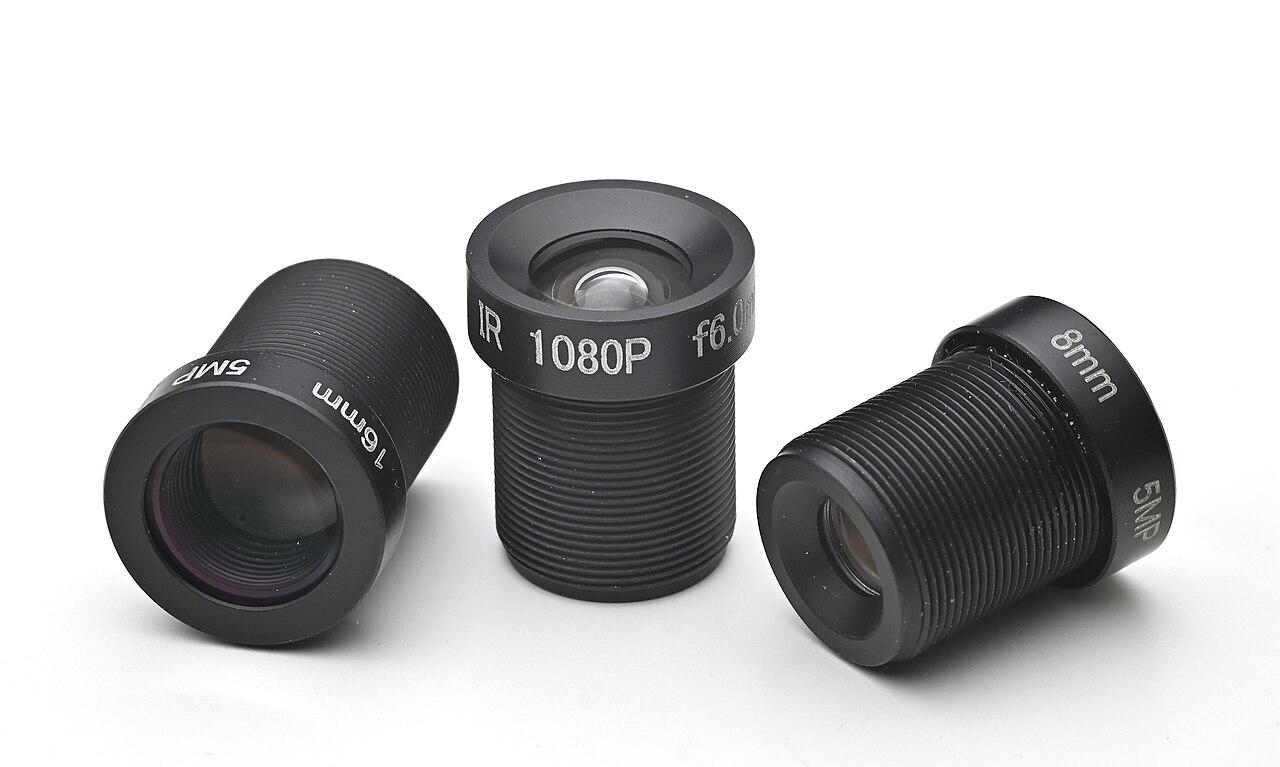
Axis’s lens guide distinguishes fixed focal length from adjustable lens arrangements and discusses matching the lens with the camera’s sensor and mount. The practical purchasing question is how much adjustment the specific installation needs, both initially and during its useful life.
A well-defined, stable scene may suit a fixed option if the planned framing can be demonstrated. A location with uncertain final mounting position may benefit from adjustment during commissioning. That flexibility has value when it solves a known uncertainty; it should not substitute for collecting basic site measurements.
Describe whether later adjustments need remote control or a service visit. A camera above a difficult-to-access area has different maintenance implications from one at an accessible office entrance. Compare the complete installed arrangement, including the method of adjustment and the people authorized to change it, rather than comparing lens labels in isolation.
Use the planning tool to compare complete alternatives
AXIS Site Designer supports placing cameras on plans, reviewing coverage, selecting compatible accessories, and estimating parts of the system. Use it to compare specific alternatives for the same scene instead of generating a drawing only after the model has been chosen.
Keep the inputs visible. The proposed mounting position, scene dimensions, and target distance should match the survey record. If the layout is based on an approximate floor plan, label that uncertainty. A precise-looking drawing does not become a precise measurement merely because software produced it.
Save the alternatives that explain the decision. One option might show wider context, while another concentrates the view on a service counter. The customer should be able to see what is gained and what is left outside the frame. That comparison is more informative than a statement that the selected model is the newest or most capable in the range.
Evaluate focus at the locations that matter
Choose test points near the front and back of the required area. Inspect whether the intended subjects remain useful in the saved recording at both points. A sharp object in the middle of the image does not establish that every relevant location has acceptable detail.
Avoid using a stationary object as the only test when the requirement involves people or vehicles moving through the scene. Review the normal route and the moment when the subject is best presented to the camera. If that moment occurs at a different distance from the one used in planning, revisit the setup.
Record the accepted framing and focus result with the camera schedule. This gives later maintenance a meaningful reference. Without it, a technician may restore a visually pleasing image after service while unintentionally changing the small area that the business originally needed to examine. The desired result should be understandable without relying on the original designer’s memory.
Review the view under the difficult lighting condition
List the conditions that are likely to challenge the intended scene. A glass entrance can change across the day, while a service yard may rely on lighting that is switched or partially obstructed. Arrange the acceptance review around the condition that matters, not only the hour when installation happens to finish.
Compare the actual recording after any proposed adjustment. The test should include the expected subject position and movement, because a bright static background is not the same task as examining a person crossing it. Keep the review tied to the required outcome rather than searching for one setting that makes the whole picture look attractive.
If the result remains inadequate, consider the whole design. A different position, altered lighting arrangement, or separate detail view may be worth evaluating. The Axis and Hanwha planning guide helps frame that discussion around operating requirements instead of assuming a brand preference settles the scene-level decision.
Check the mounting and service arrangement before ordering
Confirm the exact camera and lens configuration, the supported mount, and any housing or accessory needed for the chosen location. Do not assume that an interchangeable-looking component belongs on every camera body. Use the manufacturer’s current compatibility information for the final bill of materials.
Think through access for cleaning, inspection, and adjustment. A location that offers an attractive view may require a particular work window or access method. Include those conditions in the installation scope and future maintenance plan so the selected viewpoint remains practical to operate.
Review these details before approving the order:
- The exact camera and lens configuration represented by the design.
- The approved mounting position and required accessories.
- The method for adjusting and verifying the view after installation.
- The access needed for routine service and any site restrictions.
A substitution should trigger the same review. Similar resolution and a similar-looking housing do not establish that a replacement delivers the same field of view or adjustment process.
Accept the lens choice through recorded evidence
Create a short acceptance task for the view. For example, a hypothetical service-counter installation might require reviewing an ordinary item handoff at the marked counter position while retaining enough surrounding context to understand the interaction. The task should reflect the customer’s actual purpose and avoid promising detail the design has not demonstrated.
Test the selected arrangement at the agreed points and conditions, save the result, and record any limitation. If the customer accepts a compromise, identify it plainly. A drawing that showed an intended view and a sample that demonstrates the final view should remain together in the project record.
Give later changes an owner. Moving a camera or changing its framing can be a sensible response to a revised workspace, but it should prompt another check of the original task. A lens with adjustment range makes changes possible; it does not decide whether the new view is acceptable for the business.
The takeaway
Lens selection is a decision about a specific scene and an observable viewing task. Begin with the subject’s location, the available mounting positions, and the area that must remain useful. Then compare supported Axis camera and lens arrangements against those inputs, including the practical value of adjustment and future service access.
Keep the selected configuration tied to a recorded acceptance result. That gives purchasing a concrete reason for the choice and gives operations a baseline for later changes. The most useful lens is the one that fits the intended view and remains manageable after the installation is complete.
Turn the view into an installation brief
Use the security camera installation checklist to collect the coverage, recording, network, and handover requirements around the proposed camera view.
FAQ
Is a varifocal lens always preferable to a fixed lens? No. Its adjustment range can be valuable when the scene or mounting position requires it, but a suitable fixed option may meet a well-defined task. Compare the demonstrated result and operating needs.
Can the same focal length produce different views on different cameras? Yes. The camera’s sensor and supported lens arrangement affect the result. Evaluate the complete combination using the manufacturer’s information instead of transferring a millimeter value from an unrelated model.
Does a planning tool replace an on-site image test? No. Planning tools help compare coverage and equipment choices, while the installed recording shows the effect of actual mounting, obstacles, lighting, and movement. Keep both forms of evidence in the project record.
What should be rechecked after adjusting a lens? Revisit the intended scene boundary, relevant near and far positions, and the recorded task under the conditions that mattered during acceptance. Document the new view so the operating baseline remains current.